Obtaining a Free One-Year StartSSL SSL/TLS Certificate
StartSSL offers free 1-year SSL/TLS certificates. The advantage of having a SSL/TLS certificate signed by a certification authority recognised by most recent browsers (and not your own CA) is that these browsers will not issue all kinds of warnings when they read the certificate; instead the browser will present a nice green padlock next to the https-address.
Before you can issue valid SSL/TLS certificates you must own a domain (e.g. wbnet.dk) and validate that you are the owner of the domain, by being able to receive mails from StartSSL to the postmaster address of the domain. Also, you must validate any mail-addresses (e.g. test@wbnet.dk) you plan to use as the contact person in the certificate(s).
In this post-Snowden and post-Heartbleed era I would recommend a separate 4096-bit private key per certificate. Generate a password protected 4096-bit private key:
1234567
openssl genrsa -des3 -out test.wbnet.dk.private.key 4096
Generating RSA private key, 4096 bit long modulus
...................................++
...................................++
e is 65537(0x10001)Enter pass phrase for test.wbnet.dk.private.key:
Verifying - Enter pass phrase for test.wbnet.dk.private.key:
If you do not want to enter the password every time you start your web-server, create a password-less version of the private key:
123
openssl rsa -in test.wbnet.dk.private.key -out test.wbnet.dk.key
Enter pass phrase for test.wbnet.dk.private.key:
writing RSA key
Make sure the password-less key is kept in a safe place (only stored on the web-server) and is only readable by root (chown root.root and chmod 400)
Proceed to create a certificate signing request (csr) (in this case for a 4096-bit certificate using the sha256 algorithm, since sha1 is deprecated) without a challenge password (important information is the Common Name, i.e. the hostname, and the Email Address):
12345678910111213141516171819202122
openssl req -new -newkey rsa:4096 -sha256 \ -key test.wbnet.dk.private.key -out test.wbnet.dk.csr
Enter pass phrase for test.wbnet.dk.private.key:
You are about to be asked to enter information that will be incorporated
into your certificate request.
What you are about to enter is what is called a Distinguished Name or a DN.
There are quite a few fields but you can leave some blank
For some fields there will be a default value,
If you enter '.', the field will be left blank.
-----
Country Name (2 letter code)[AU]:DK
State or Province Name (full name)[Some-State]:Hovedstaden
Locality Name (eg, city)[]:Roedovre
Organization Name (eg, company)[Internet Widgits Pty Ltd]:wbnet
Organizational Unit Name (eg, section)[]:
Common Name (e.g. server FQDN or YOUR name)[]:test.wbnet.dk
Email Address []:[email protected]Please enter the following 'extra' attributes
to be sent with your certificate request
A challenge password []:
An optional company name []:
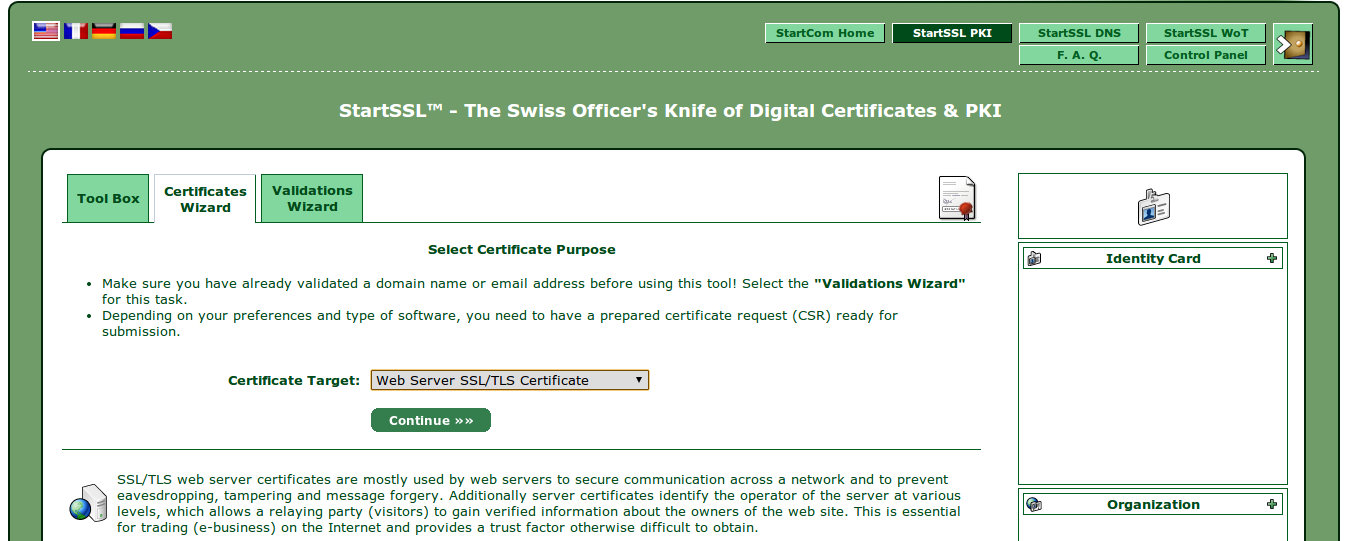
Then go to the StartSSL control panel. Select Certificates Wizard and select Web Server SSL/TLS Certificate in the drop down and click Continue.
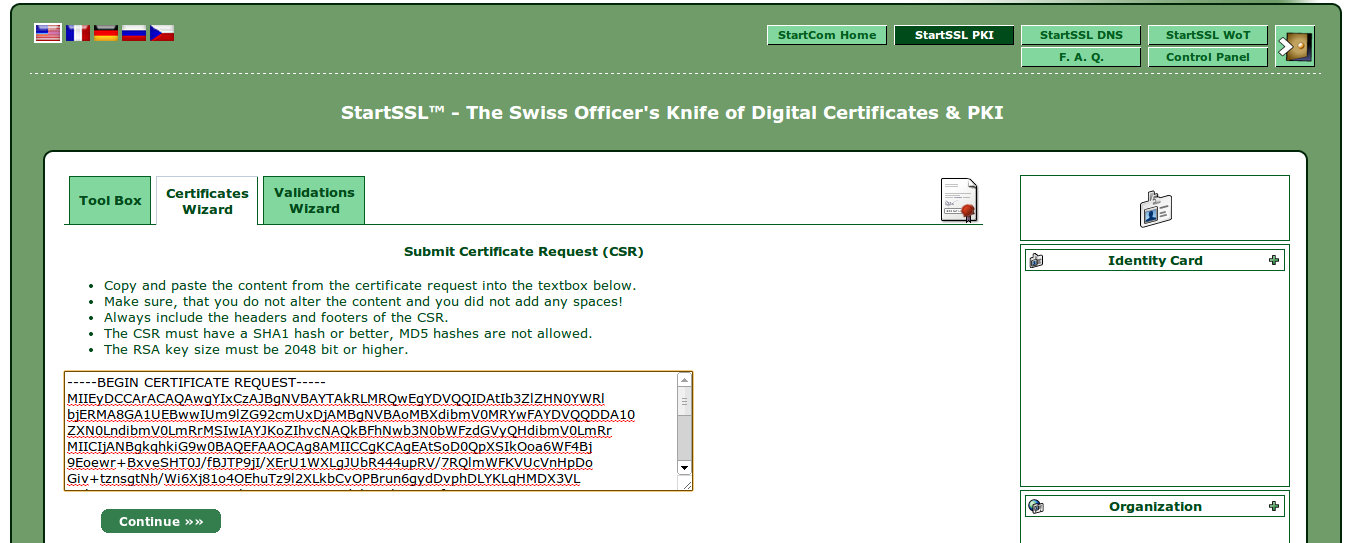
On the next page, skip the generation of a private key (Skip). Then paste your Certificate Signing Request into the text box.
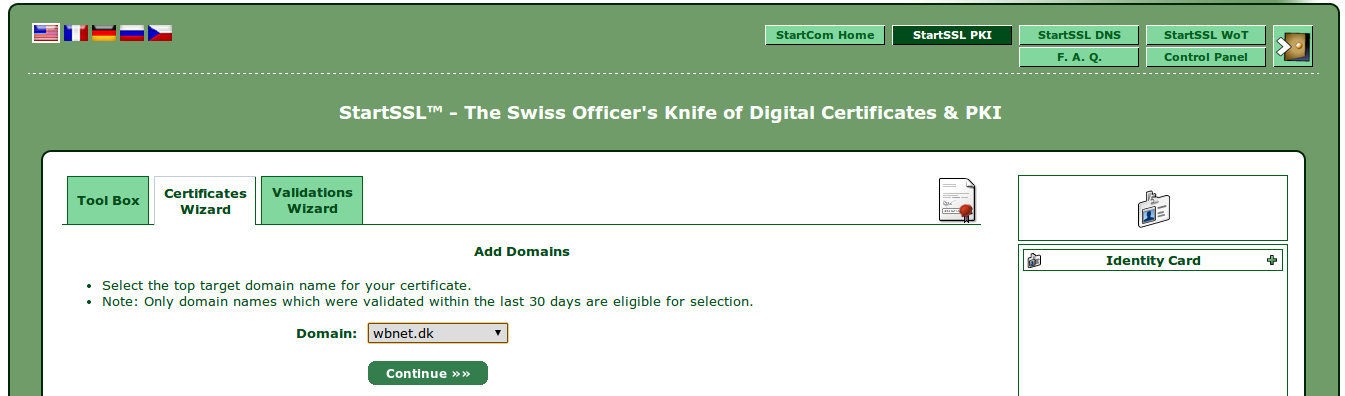
Click Continue and then Continue again on the next page. Select the proper domain in which the host (test.wbnet.dk) resides (wbnet.dk) and click Continue.
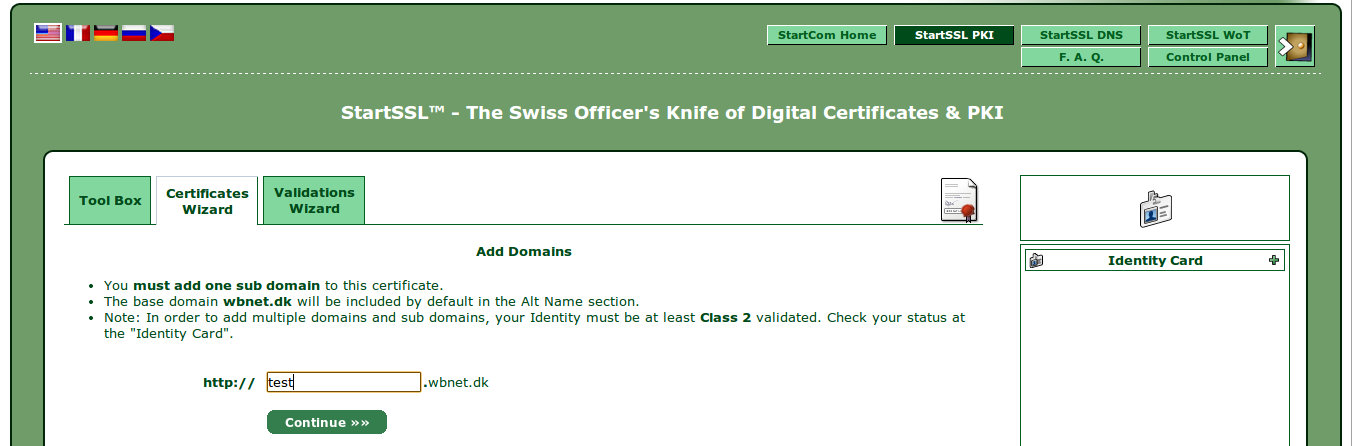
On the next page, enter the hostname and click Continue.
On the next page click Continue again.
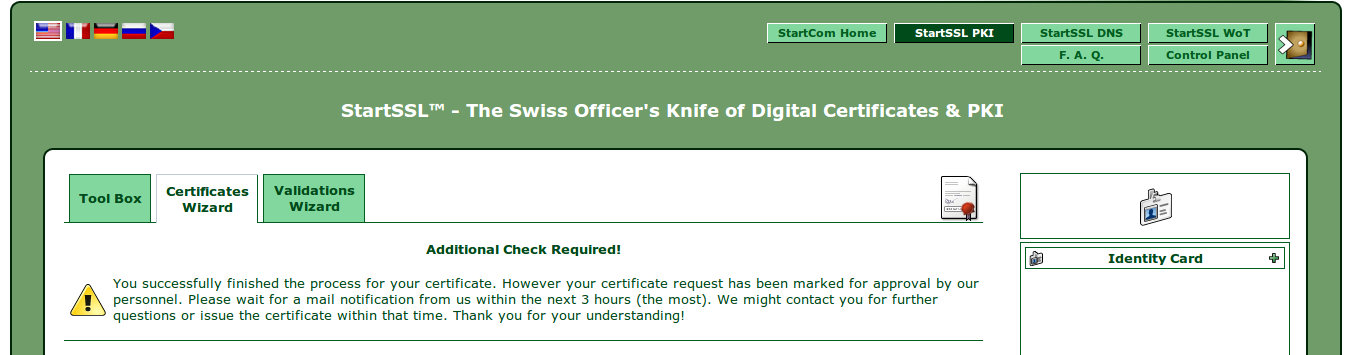
For some hostnames (including test), a manual verification must be made by StartSSL and you will be shown the message below. Otherwise, you will be taken directly to the certificate.
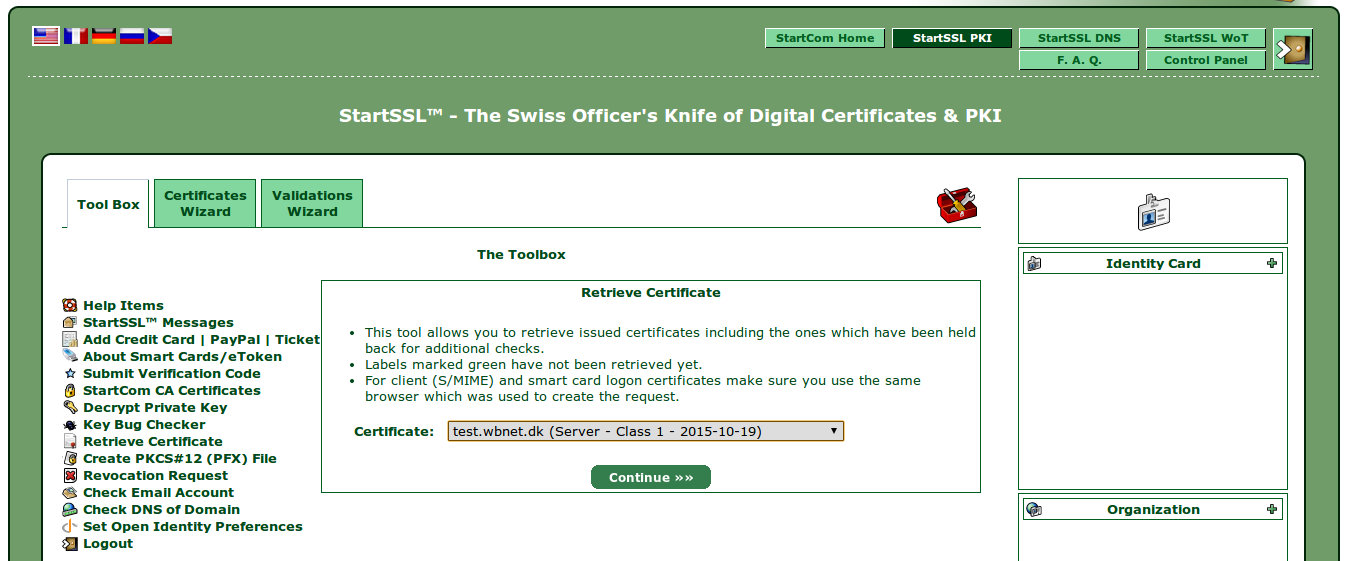
After a short period of time (max 3 hours) go to Control Panel and click Retrieve Certificate. Select the proper certificate in the drop down menu:
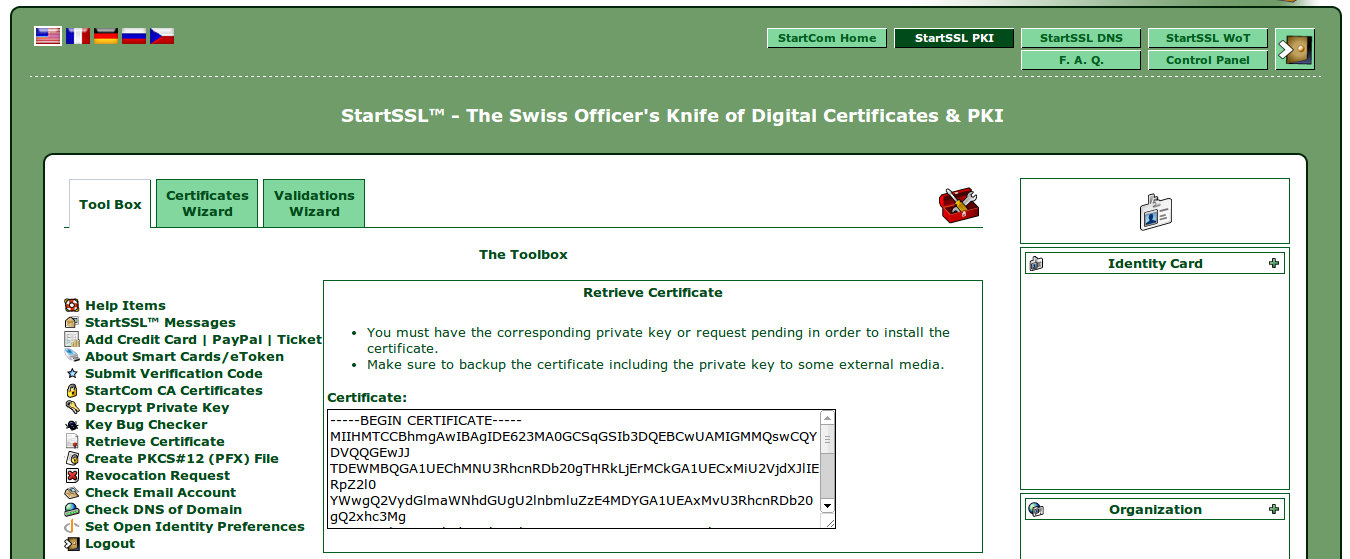
Then click Continue. On the next page your signed certificate is displayed in the text area. Copy this text to a file (test.wbnet.dk.pem) .
wget https://www.startssl.com/certs/ca.pem
wget https://www.startssl.com/certs/sub.class1.server.ca.pem
# Note, the order of concatenation IS IMPORTANTcat test.wbnet.dk.pem sub.class1.server.ca.pem ca.pem > test.wbnet.dk.crt
Now deploy the certificate test.wbnet.dk.crt and the private key test.wbnet.dk.key on your web-server. An example configuration for Nginx is shown below: